
Saturday, April 17, 2010
Sleep lessons for baby
So, call me a wuss, but I have never been able to handle letting my little babies "cry it out". It just seems cruel to me. Because of this, I haven't been able to answer in the affirmative when asked "oh, is she sleeping through the night yet?" before any of my girls hit 18 months. I realize that some of you may be picking your jaw up from the floor at the thought of not getting a full night's sleep for at least 18 months and I honestly have to admit that it really can become a pain in the...well, you can insert any appropriate body part you want here. I can assure you that my older girls sleep peacefully through the night and have for quite a while, but Zion, she's another story. She's only 14 months old and theoretically I have another few months before the night wakings really start driving me nut, but I've decided to try something a little different. I am teaching her now to go to sleep on her own and in her own bed (keep in mind that we co-sleep, so her bed is attached to our bed). Today is day two and so far so good. Yesterday she'd get up, I'd lay her down, she'd get up, I'd lay her down, she'd cry, I'd shush, she'd get up, I'd lay her down and so on for about a half an hour (which isn't bad when it comes to my girls). Tonight, she only cried for a few minutes and then laid there until she fell asleep. Maybe she's a fast learner or maybe I'm more patient than I used to be or maybe she's just exhausted at the end of the day from battling the slings and arrows of being the youngest four. Whatever the case, I'll take what I can get. Keep your fingers crossed for continuous restful nights from now on!


Wednesday, April 14, 2010
My very first tutorial
A couple of friends have requested instructions for the freezer paper stencils and as I think the written instructions are confusing without images, I decided to do a little tutorial. So, yeah, here we go:
Materials (also known as stuff you're gonna need):
freezer paper
razor blade or exacto knife
acrylic or fabric paint
pencil
iron
sponge or stiff brush
something to stencil (of course)
 So this is the image that I chose to do. I'm using the smaller words because it's going on a onesie. Words can be a pain because you have to keep up with all of the little cutouts from letters like "o", "e", "b" etc. So, keep that in mind when you are deciding on an image.
 Trace your image onto the freezer paper. You can see through the freezer paper easily. Okay, if you've never seen freezer paper, it's matte on one side and glossy on the other. Trace on to the matte side.
 Using your blade or knife, carefully cut out your image.
 I was going to cut out all of the little openings in the grommets of the shoe, but I decided to spare my sanity.... Remember to keep up with the cutouts for your letters (if you do letters).

 So once you've cut out the image, this is what it looks like. I decided that I wanted a star on my sneaker instead of a heart.
 Now, place the stencil glossy side down onto the surface of your object to stencil. I put the iron on the cotton setting because, well, the onesie is cotton. Use whatever setting is appropriate for the fabric you are using. Press the paper with the iron. It only takes a few seconds for the paper to stick. Make sure that it is secure all over or it will come up when you start painting.
 I'm using regular acrylic craft paint because it's what I have. You can wash it a gazillion times and it'll never come off (trust me). You can use fabric paint if you prefer.
 Use a piece of cardboard inside your shirt or whatever to keep the paint from soaking through to the other side. If you forget, you will get paint EVERYWHERE. I forgot here, but remembered before I messed anything up.
 Use your sponge to cover the entire image with paint. You can use more than one color if you'd like, but I stuck to black for the sneaker.
 Some instructions say to leave the stencil on until the paint dries, but I need instant gratification. I rip that bad boy off as soon as it's sufficiently covered.
 Viola!
 Okay, so the shoe is on the back of the onesie and the wording in on the front. I opted to do the letters in red.
 Paint thoroughly....
 peel...
 Voila, take two!! Rebel Youth onesie numero dos!
 With awesome Chuck Taylor on the butt. (oh, I added the stitch detail with a brush)
 So hopefully that helps everyone to make their own fabulously unique shirts, bags, pants, and whatever else your little heart desires. Alright then, go make some stuff!!! And send me pictures of what you do!
Materials (also known as stuff you're gonna need):
freezer paper
razor blade or exacto knife
acrylic or fabric paint
pencil
iron
sponge or stiff brush
something to stencil (of course)
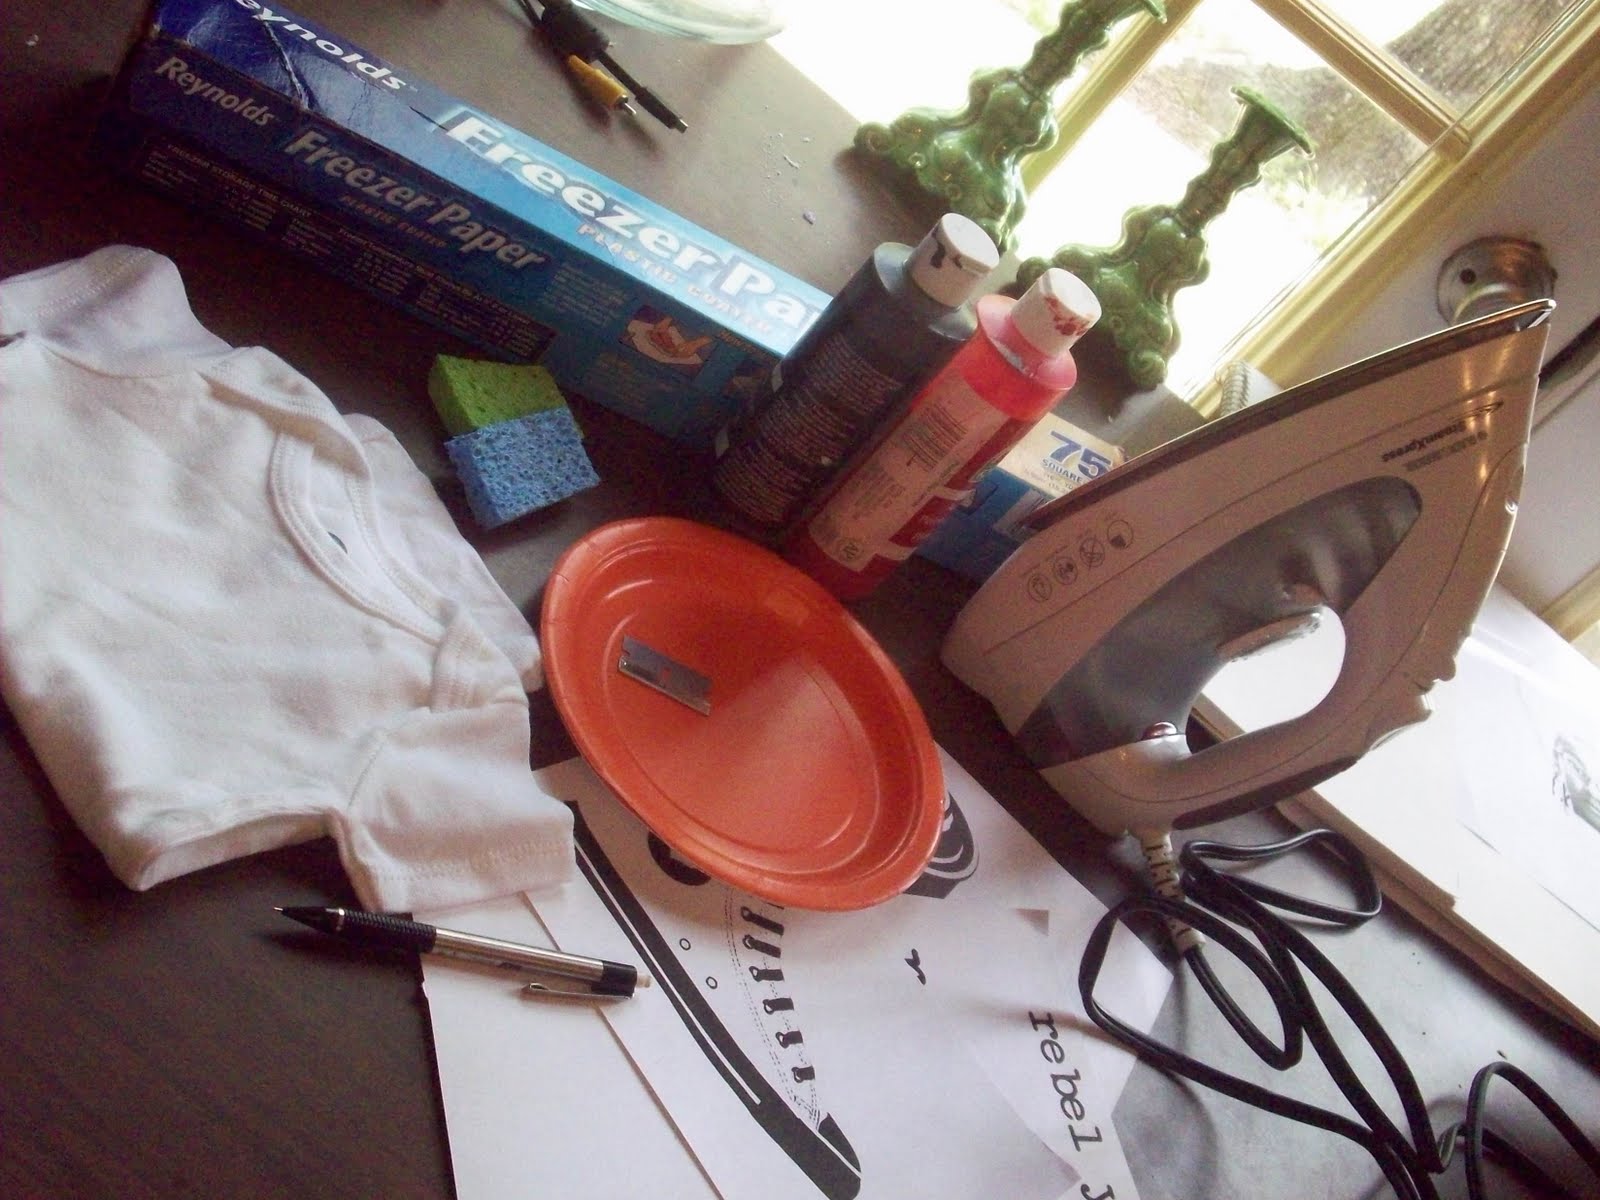 So this is the image that I chose to do. I'm using the smaller words because it's going on a onesie. Words can be a pain because you have to keep up with all of the little cutouts from letters like "o", "e", "b" etc. So, keep that in mind when you are deciding on an image.
 Trace your image onto the freezer paper. You can see through the freezer paper easily. Okay, if you've never seen freezer paper, it's matte on one side and glossy on the other. Trace on to the matte side.
 Using your blade or knife, carefully cut out your image.
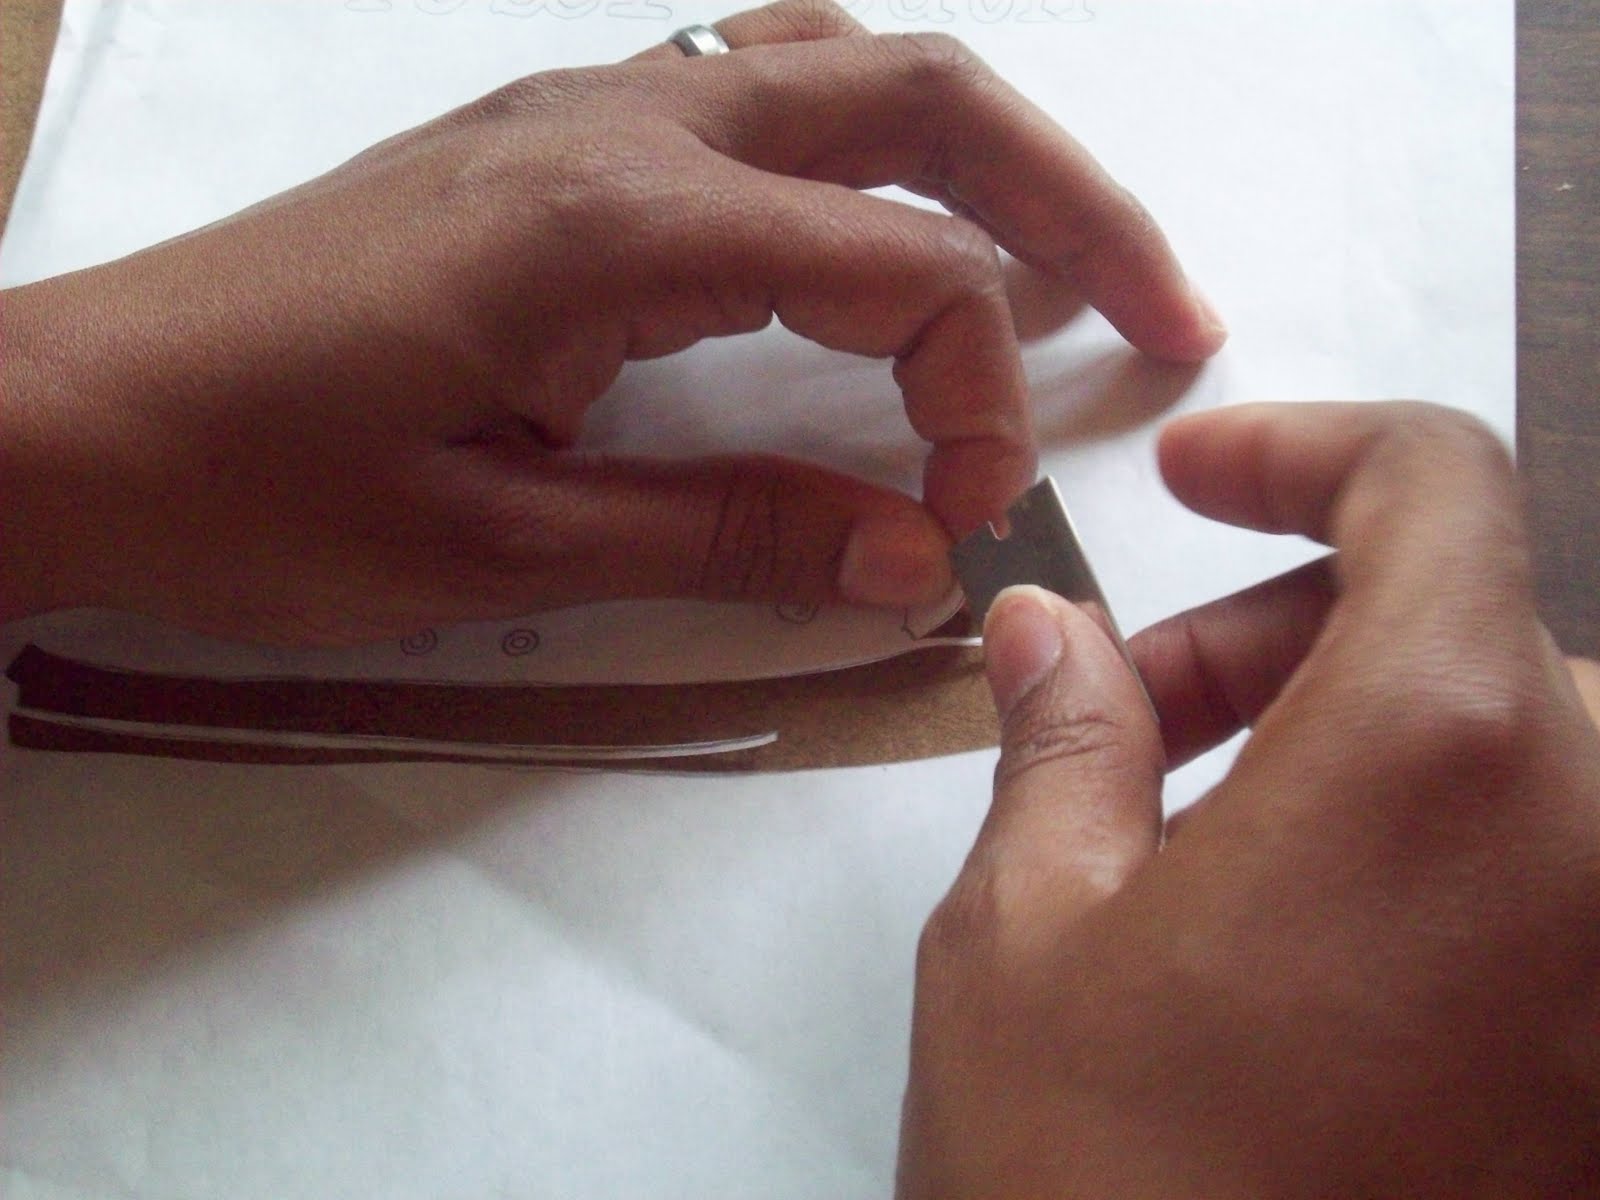 I was going to cut out all of the little openings in the grommets of the shoe, but I decided to spare my sanity.... Remember to keep up with the cutouts for your letters (if you do letters).
 So once you've cut out the image, this is what it looks like. I decided that I wanted a star on my sneaker instead of a heart.
 Now, place the stencil glossy side down onto the surface of your object to stencil. I put the iron on the cotton setting because, well, the onesie is cotton. Use whatever setting is appropriate for the fabric you are using. Press the paper with the iron. It only takes a few seconds for the paper to stick. Make sure that it is secure all over or it will come up when you start painting.
 I'm using regular acrylic craft paint because it's what I have. You can wash it a gazillion times and it'll never come off (trust me). You can use fabric paint if you prefer.
 Use a piece of cardboard inside your shirt or whatever to keep the paint from soaking through to the other side. If you forget, you will get paint EVERYWHERE. I forgot here, but remembered before I messed anything up.
 Use your sponge to cover the entire image with paint. You can use more than one color if you'd like, but I stuck to black for the sneaker.
 Some instructions say to leave the stencil on until the paint dries, but I need instant gratification. I rip that bad boy off as soon as it's sufficiently covered.
 Viola!
 Okay, so the shoe is on the back of the onesie and the wording in on the front. I opted to do the letters in red.
 Paint thoroughly....
 peel...
 Voila, take two!! Rebel Youth onesie numero dos!
 With awesome Chuck Taylor on the butt. (oh, I added the stitch detail with a brush)
 So hopefully that helps everyone to make their own fabulously unique shirts, bags, pants, and whatever else your little heart desires. Alright then, go make some stuff!!! And send me pictures of what you do!
Monday, April 12, 2010
Rebel Youth
Tonight was my night to lead the project in our local craft circle at the library. So, I chose to do freezer paper stencils. There were only one or two people in the circle who'd done freezer paper stencils before, but everyone was really pleased with their finished products. I wanted to do a little something for Zion mainly because little clothes are so flippin' cute and because I really haven't done any clothes for her yet. I think this onesie turned out really cute. I think I will make one for each of the girls.
 My little rebel youth in her robot sneakers.

 Rebel....without a cause!
 My little rebel youth in her robot sneakers.
 Rebel....without a cause!
Saturday, April 10, 2010
Really? Another awesome find?
Yeah, another awesome thrift store find! It has been a good week. We found these canisters at the Goodwill today. They were $7.99 for the set and the lids are STEEL!! Yay me!!!


Friday, April 9, 2010
Fun Thrift Store Find
I haven't posted any good thrift store finds lately, so here you go. On a little impromptu trip to the Salvation Army the other day I stumbled upon this little case for $3. I had no idea what it was or even how to open it.

Fortunately, I was curious enough to figure out how to open it instead of just walking away. Oh how glad I am I opened it! I love all of the colors and the little wooden spools and it came with pinking shears - good, heavy, solid metal pinking shears like my grandmother used to have! Mmmmmm, love it....


Fortunately, I was curious enough to figure out how to open it instead of just walking away. Oh how glad I am I opened it! I love all of the colors and the little wooden spools and it came with pinking shears - good, heavy, solid metal pinking shears like my grandmother used to have! Mmmmmm, love it....


Nature Walk
I felt the need to get out of the house today and be beneath the trees and in the grass. So I took the kids out on a little hike. I really didn't have anything planned, but I packed a couple of notebooks, pens, the magnifying glass and of course the camera. We actually didn't use anything that we brought except for the camera. Immediately by budding geologist (Ashni) began collecting rocks and my future photographer started her photo documentation of our trip. I decided to let the girls lead us on a few trails and we were temporarily lost, but it turned out to be a great hike. I finally figured out how to tie Zion on my back, so she slept the entire way. Unfortunately, when you tie your baby on your back, you can't see how uncomfortable she looks until you come home, put the pictures of your day on the computer and scan through them. We'll get her on there better next time.
 This is the trail that we walked that brought us back to the main trail.

 The kids love this bridge. It's not the strongest bridge in the world, so we have to stay towards the center. Ashni is making sure she is exactly center.
 Jena's pictures of moss on old railroad tracks. We also found a huge rusty railroad spike
 They kids found this frog. They have great eyes because they had to point it out to me several times before I could see it. So that seemed like a good time to talk about camouflage.

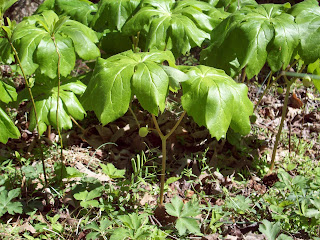 They were fascinated with these plants that looked like little umbrellas. I don't know what they are, but they were everywhere.
 Zion getting tied on. She doesn't look convinced.
 JP (Jena Phoenix)
 This is how I usually carry Zion. It can get tiring on that one shoulder though.

 This is the trail that we walked that brought us back to the main trail.
 The kids love this bridge. It's not the strongest bridge in the world, so we have to stay towards the center. Ashni is making sure she is exactly center.
 Jena's pictures of moss on old railroad tracks. We also found a huge rusty railroad spike
 They kids found this frog. They have great eyes because they had to point it out to me several times before I could see it. So that seemed like a good time to talk about camouflage.
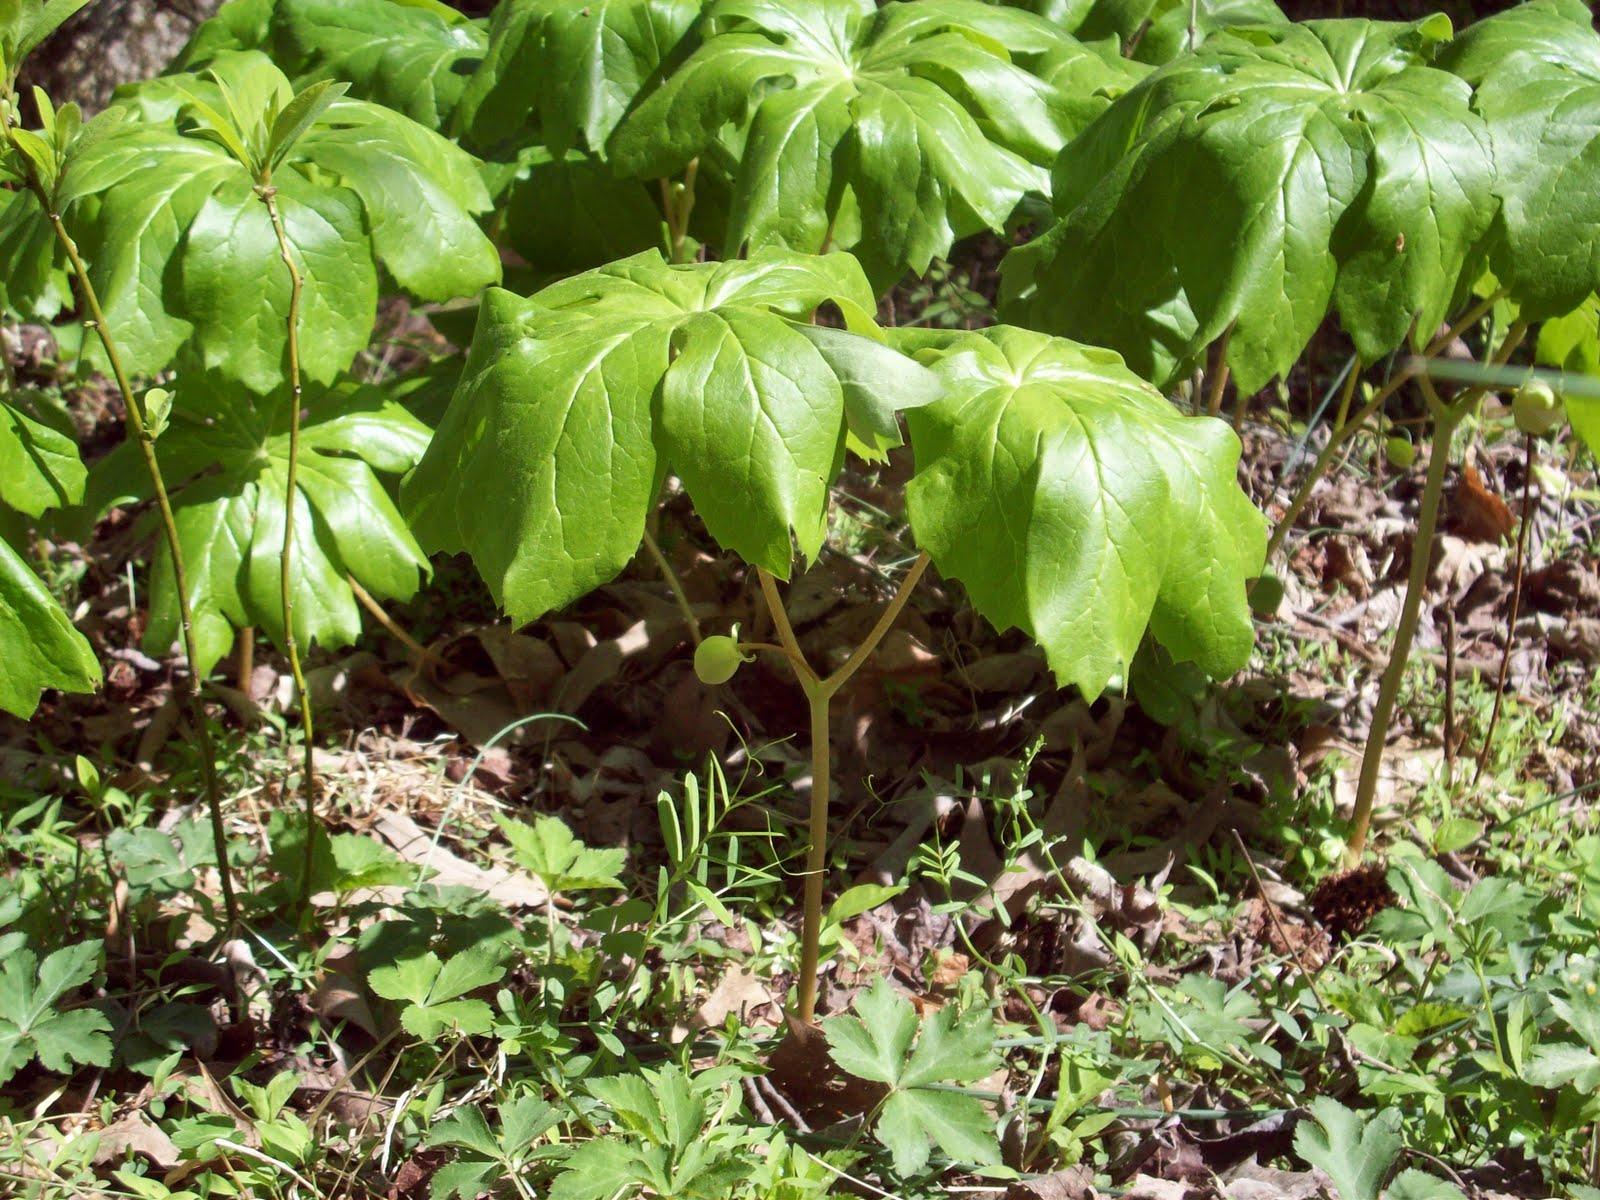 They were fascinated with these plants that looked like little umbrellas. I don't know what they are, but they were everywhere.
 Zion getting tied on. She doesn't look convinced.
 JP (Jena Phoenix)
 This is how I usually carry Zion. It can get tiring on that one shoulder though.
Okay, so looking at this picture I see where the fabric slipped so I can fix that next time and she will at least look a little more comfortable. She slept like a rock, so I guess she was okay.
Ultimate Blog Party

WOO HOO! I'm partying online with 5 Minutes for Mom's!!!! I'm still pretty new at this whole blogging thing and as addicted as I am, I still haven't "met" a whole lot of other bloggers. So, I guess this is my chance! Thanks for stopping by. Please leave a comment and feel free to follow me if you'd like!
Let's see, I'm a 30 something artist, wife and homeschooling mother or four daughters. I love creating things. I draw, paint, sew things, make toys, build stuff (when I can). We try to be a pretty "natural" family. I breastfeed...A LOT, co-sleep, wear my baby, yaddah yaddah yaddah. I enjoy fashion although I'm FAR from fashionable, I was vegetarian for 10 years before my pregnancy with my last baby and I'm really trying to get back to it. My kids were raised vegan, but I would say that they are probably 75% vegan still (they LOVE fish).
Feel free to drop by anytime. I usually talk about stuff I've made, things we do in school and on occasion things that I've cooked/baked and I'd love to "meet" some new people!!!
Okay, so on to the prizes!
US1. DUH, shopping spree at Pedal Cars and Retro Collectibles (AWESOME!!!)
US11. Restaurant gift certificate (the hubby and I could use an anniversary dinner out)
US31. Amazon gift certificate (I hear a work book or two for the kiddos calling my name)
US32. Target gift card
US37. Visa Gift Card (aka gas for the minivan)
US39. Be My guest certificate (we could always use a two night stay somewhere)
US41. It's all too much....because it just is.
US57. Yoga kit
US65. OOOOOOH, Fantastic Mr. Fox!!!
US69. Itty Bitty Bookworm (my 3 year old LOVES books)
US73. Amazon Gift card
Okay, I could just keep going on...basically any gift card, curriculum or toddler centered prize would be awesome. Well, winning ANYTHING would be awesome!
Let's see, I'm a 30 something artist, wife and homeschooling mother or four daughters. I love creating things. I draw, paint, sew things, make toys, build stuff (when I can). We try to be a pretty "natural" family. I breastfeed...A LOT, co-sleep, wear my baby, yaddah yaddah yaddah. I enjoy fashion although I'm FAR from fashionable, I was vegetarian for 10 years before my pregnancy with my last baby and I'm really trying to get back to it. My kids were raised vegan, but I would say that they are probably 75% vegan still (they LOVE fish).
Feel free to drop by anytime. I usually talk about stuff I've made, things we do in school and on occasion things that I've cooked/baked and I'd love to "meet" some new people!!!
Okay, so on to the prizes!
US1. DUH, shopping spree at Pedal Cars and Retro Collectibles (AWESOME!!!)
US11. Restaurant gift certificate (the hubby and I could use an anniversary dinner out)
US31. Amazon gift certificate (I hear a work book or two for the kiddos calling my name)
US32. Target gift card
US37. Visa Gift Card (aka gas for the minivan)
US39. Be My guest certificate (we could always use a two night stay somewhere)
US41. It's all too much....because it just is.
US57. Yoga kit
US65. OOOOOOH, Fantastic Mr. Fox!!!
US69. Itty Bitty Bookworm (my 3 year old LOVES books)
US73. Amazon Gift card
Okay, I could just keep going on...basically any gift card, curriculum or toddler centered prize would be awesome. Well, winning ANYTHING would be awesome!
Subscribe to:
Posts (Atom)


